
Using Dynamic Cloth in Poser 14 Alt Method
Since writing my original method tutorial for using Dynamic Cloth in Poser 14, I have noticed that not all dynamic cloth objects can be used in this way. I’m not completely sure why that is, but I’ll keep studying it. Until then, here is another method for getting dynamic cloth from Poser 13 or earlier into Poser 14.
Step 1
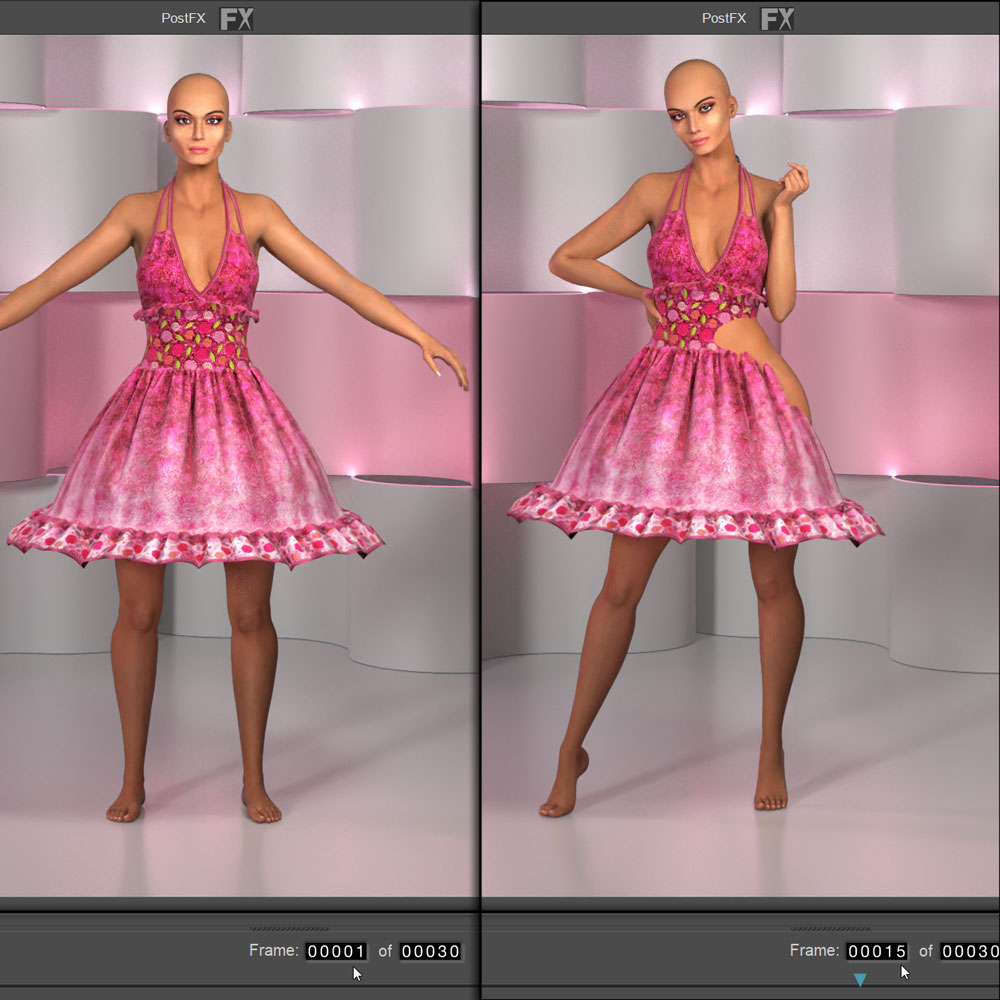
First, create your scene in Poser 14 and load your chosen figure. Next, load the dynamic cloth you want to use and make sure it fits on the figure in the zero pose on Frame 1. This time, you don’t need to worry about whether it’s parented to the figure or not. Go to Frame 15 and pose your figure as desired and save the scene file. For the sake of this tutorial, save it as “Scene 2.pz3”. Make sure your figure is in the proper position and pose that you want it to be in your final render. It’s going to be hard to move it all later!
Step 2
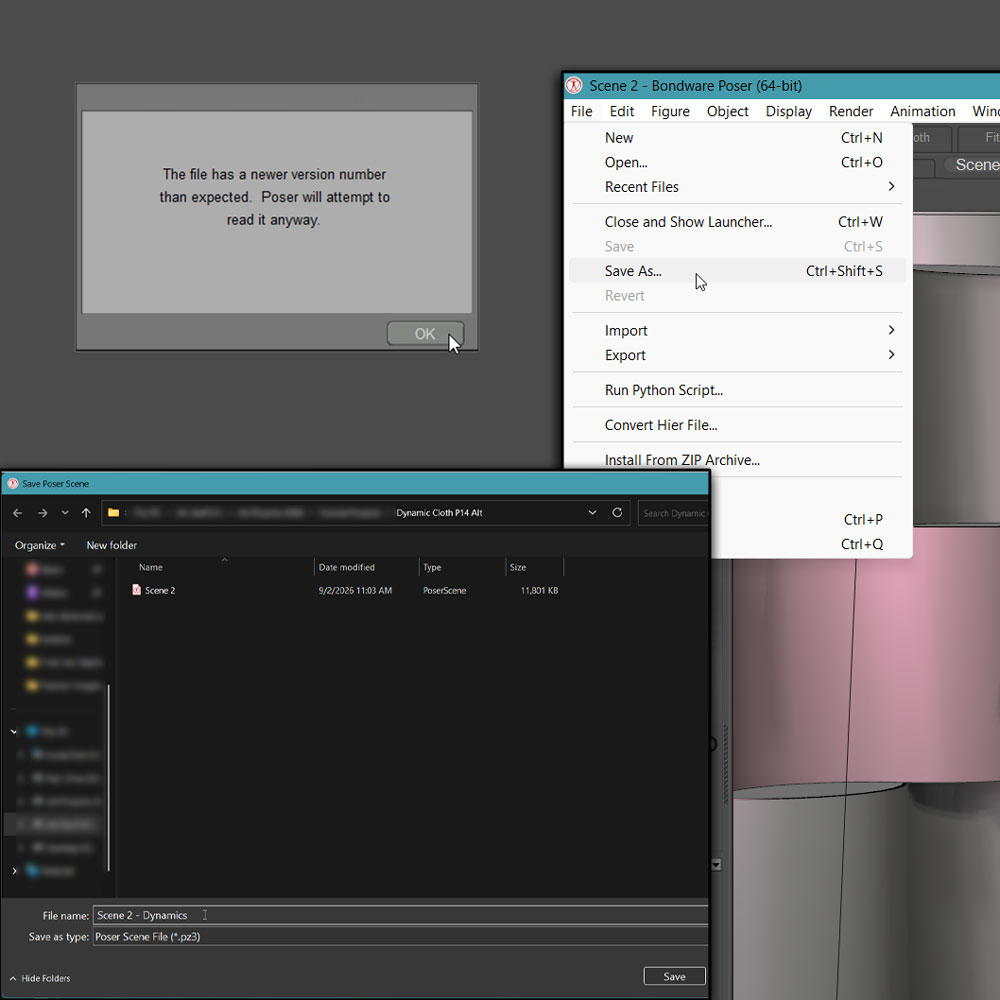
You can close Poser 14, for now, and open up your Poser 13 or earlier program. Don’t worry about the “newer Poser version than expected” warning when you open the scene you saved earlier. Just click OK and continue. Before we go any further, save your scene as a new file. (For instance, my original scene file was named “Scene 2.pz3”. Now I will Save As a new “Scene 2 – Dynamics.pz3”.) It’s very important that you save this as a separate scene!
Step 3
In this newly resaved scene, you can now go to the Cloth Room and clothify your clothing object and calculate the dynamics as you usually would. Once the clothing looks the way you want it to on the last frame, you can move on to Step 4. Otherwise, keep calculating until you get the look you want. If you need to change the pose of your figure in this earlier version of Poser, it’s a good idea to save the new pose to your Pose Library so you can apply it to your figure back in Poser 14 and have it match exactly. Also, make sure to save your current scene after calculating the dynamics!!
Step 4
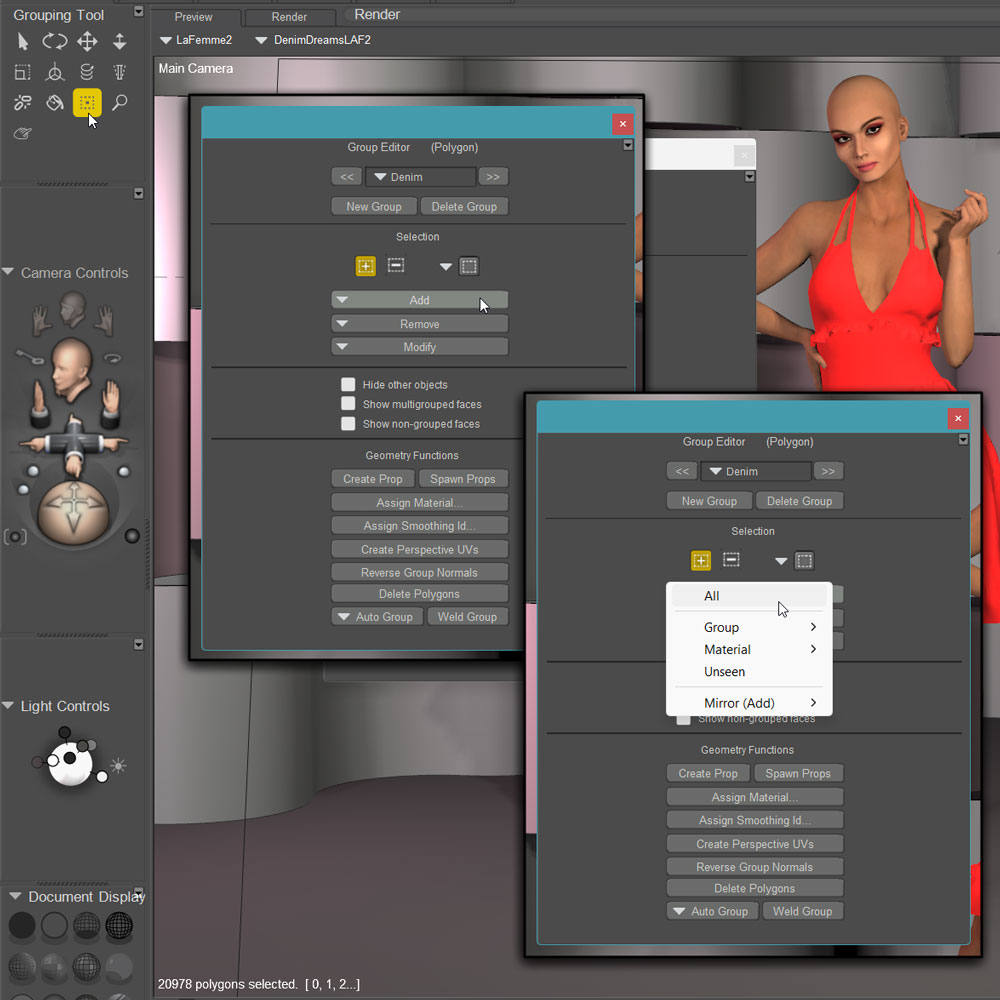
Now here is where this tutorial differs from the previous one! With the calculated clothing prop selected, click on the “Grouping Tool” which looks like a dotted square with a solid square in the center under Editing Tools. (You can also see it in the image at right.) Next, click the “Add” button then select “All”. This will make sure that the entire prop is selected and created as a single group. The clothing prop should now be completely bright red as seen in the preview at right.
Step 5
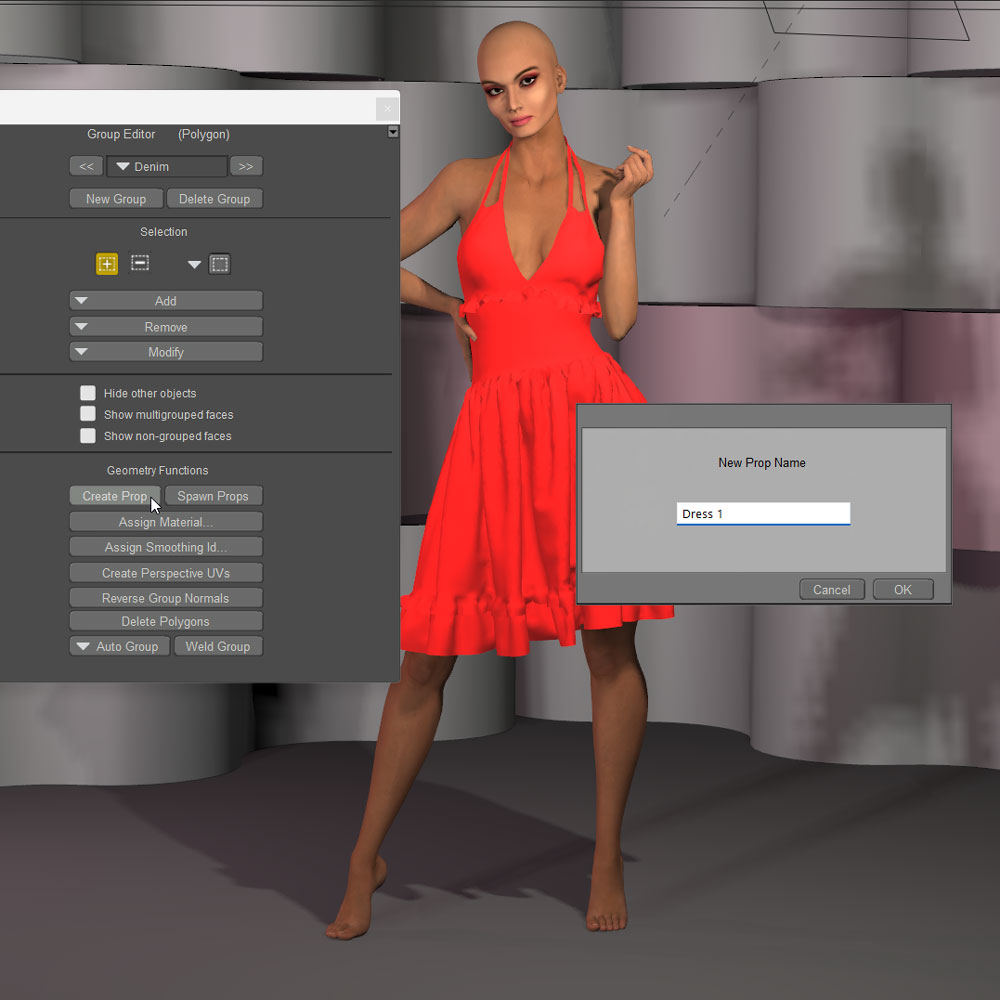
While still working with the Grouping Tool, click the “Create Prop” button. This will spawn a brand-new clothing prop in the exact shape of your calculated dynamics. You will need to name the new prop something that makes it easily identifiable. I named mine “Dress 1”. The prop may turn a shiny and/or solid black once it is spawned, that’s okay.
Step 6
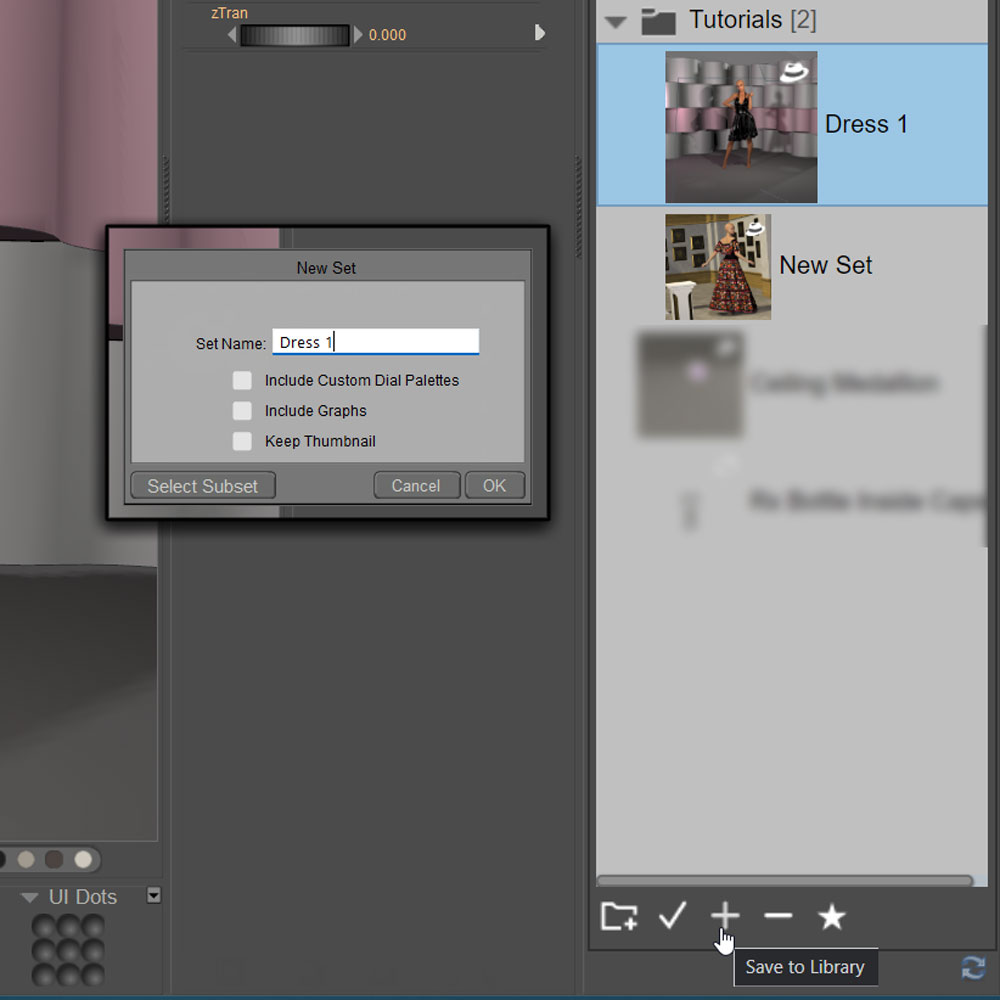
Now, with the new “Dress 1” prop selected, add the prop to your Props Library in a folder that will be easy to find when you later open up Poser 14. Click on the “+” sign at the bottom of your Props Library window to add the prop to your library. You are now done with working in your earlier Poser program version. Be sure to save your scene before leaving, just in case you need to come back to it!
Step 7
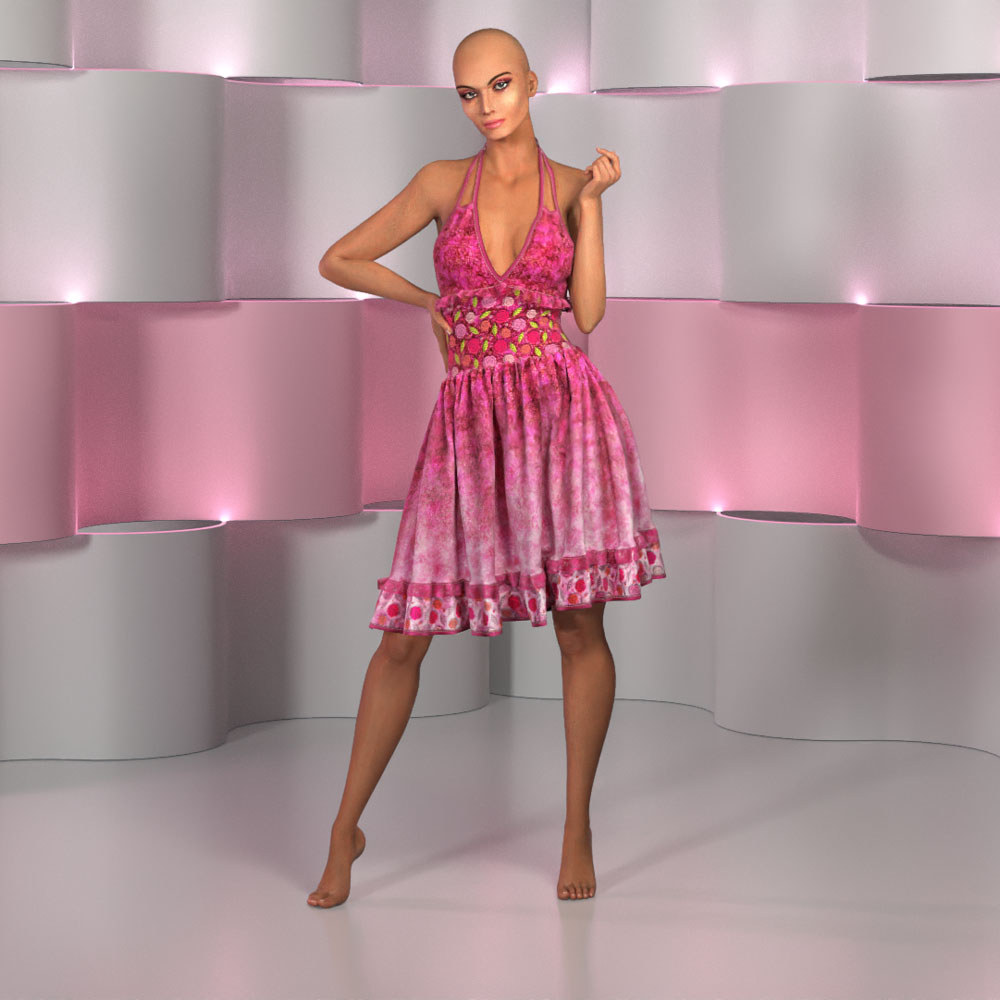
Back in Poser 14, open up your “Scene 2.pz3”. You can delete the original clothing prop now as you no longer need it in this scene file. Go to the Props Library and find the “Dress 1” prop you saved earlier. Double-click it to add it to your scene. It should load into place on your figure with its calculated shape. DO NOT try to parent this new prop to your figure as it won’t work. You will just have to move and adjust the prop if you have to move the figure. This is why I said it was important to make sure everything about your figure was in the perfect/pose/placement before doing the other steps in your previous version of Poser. If you did adjust the pose any before calculating the dynamics and did as I said by saving the pose to your library, then you can apply the pose to the figure to make sure it’s in the correct position.
Step 8
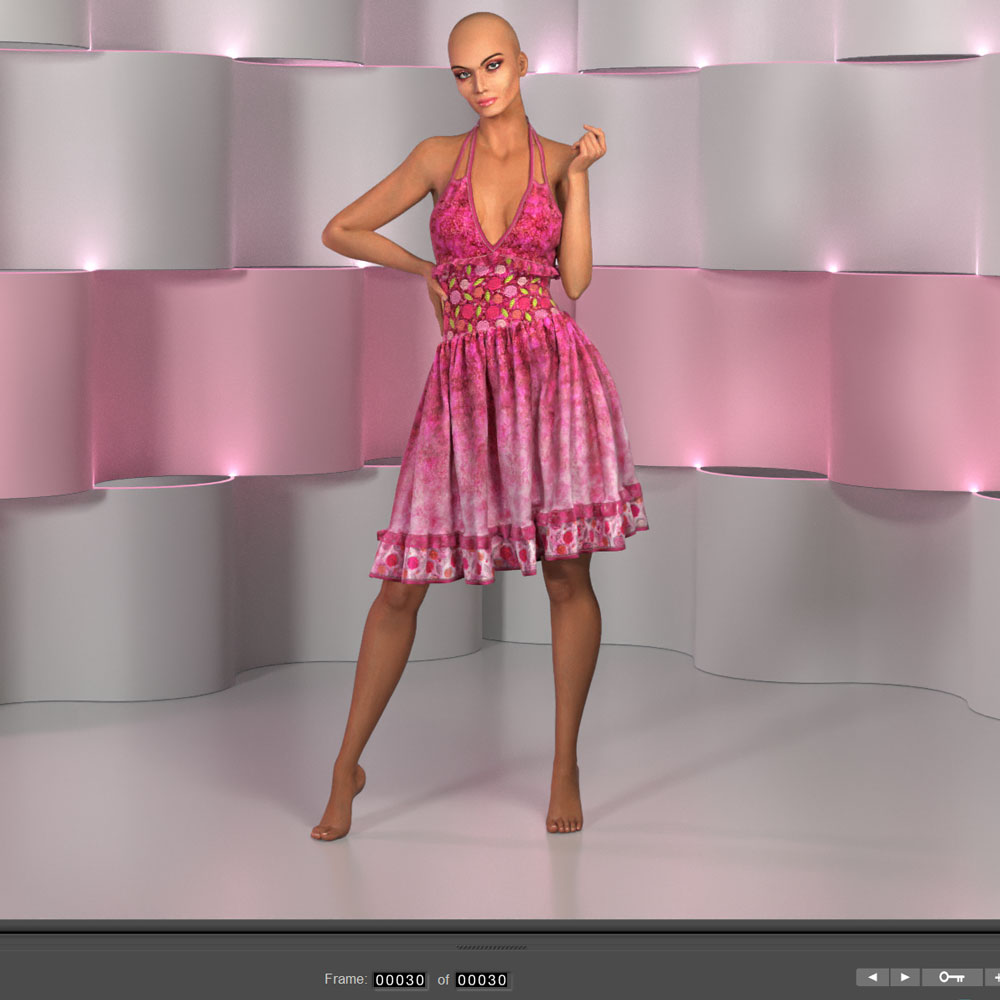
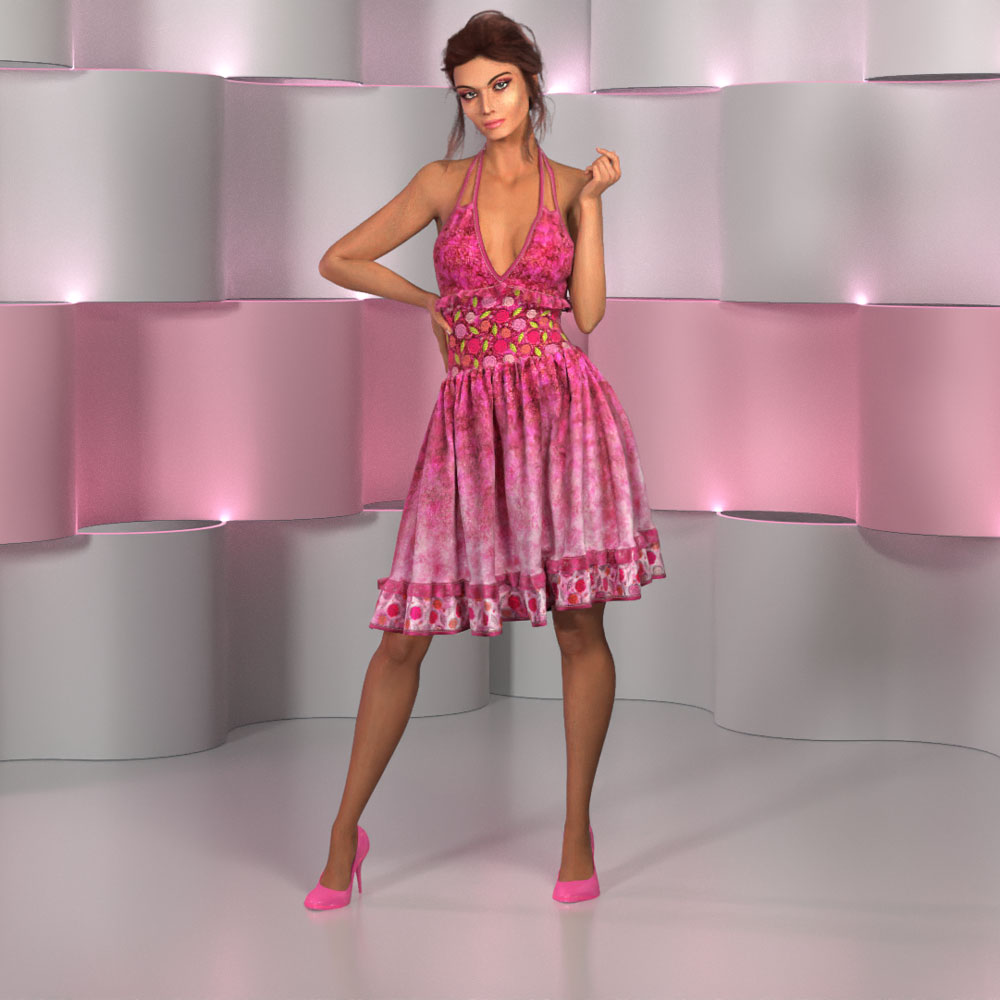
That’s it! You can now finish your scene by adding other props, figures, etc. In case you are wondering, in this tutorial’s renders I used the following products:
If you found this tutorial helpful:
Learn How to Support This Artist
or
Leave a Comment on This Post
Otherwise, feel free to share the link to this post using the “Share this:” buttons below this post to spread the word. The more viewers, the merrier! You can also find loads of 3D resources like I use at Renderosity. Feel free to visit via my affiliate link below this paragraph. Thank you!

