

Using Masks in Superfly Cycles
In this tutorial I will share some tips on how to use masks to achieve transparency and more in Superfly with Cycles shader nodes. If you’re new to the Cycles shaders of Superfly, that’s okay. This is a rather simple tutorial on how you can use masks to add transparency and combine shaders when you want multiple effects on only one material zone. If you have any trouble with this tutorial or have more tips to add, please don’t hesitate to contact me. Part 1 will be how to use a mask for transparency. Part 2 will be how to use a mask to combine shaders on a single material zone.
Part 1 Transparency Mask
Step 1
First, you need to know what a “mask” is. It’s a simple black and white image. (Advanced masks can incorporate grayscale but I’ll save that for another time.) Masks are often used as, and also known as, transparency maps. On a transparency map, the white areas will show up while the black areas are transparent. So, let’s start with using a mask to add transparency to an object with Cycles nodes. The transparency map/mask at right is from my Free Round Tablecloths set found in the Renderosity Free Stuff section. This map goes on the Square Hi-Res prop in the default runtime’s Primitives folder. The black area will be transparent making the square look like a circle. The white area is where the fabric material will be seen and render. Here’s how to do it:

Step 2
Note that I’m doing this in Poser 14, but it can be done in any version of Poser that has the Superfly render engine and Cycles. Now, we go to the Material Room and then to Edit. We start by creating a “Cycles Surface” Root Node. Next, right-click on the blank area and select “New Node–>Cycles–>Shader–>MixClosure” then connect the new node to the “Surface” of the Cycles root node.

Step 3
Right-click again to create another new node: “New Node–>2D Textures–>image_map” then connect the node to the “Fac” of the MixClosure node. In the image_map node, load your transparency map and make sure to set the “Custom Gamma value” to “1.0”. That last step is important to remember. All transparency maps, masks, bump maps, displacement maps, normals, and basically every kind of 2D map you could add EXCEPT DIFFUSE/COLOR MAPS should be set to a gamma of “1.0”. These “effects” maps won’t render correctly otherwise.

Step 4
Now we’re going to create another new node and connect it to “Closure2”. Note that whatever node you connect to “Closure2” will be what shows up via the white area of the mask map. For the sake of simplicity, we’ll create a simple Diffuse node by right-clicking and selecting “New node–>Cycles–>Shader–>DiffuseBsdf”. After taking the following screenshot, I changed the Diffuse node’s “Color” to a nice shade of blue.

Step 5
This is where the magic happens! Create another new node by right-clicking and selecting “New node–>Cycles–>Shader–>TransparentBsdf” and connect this new node to “Closure2” of the “MixClosure” node. Leave the “Color” of this node as solid white.

Step 6
At right is how the shader setup should now look along with how the prop, now with transparency, should look. See how simple that was?

Part 2 Combination Mask
Step 7
This time we’re going to use a mask map to combine two different materials on one material zone. You probably already get the gist of what the MixClosure node and a mask can do now. We’re going to take a prop with only one material zone and add two complex shaders to it. I’m going to use another primitive prop that ships with Poser, the “Ball Hi-Res”. It only has one material zone but I’m going to make a mask for it to combine two shaders with.

Step 8
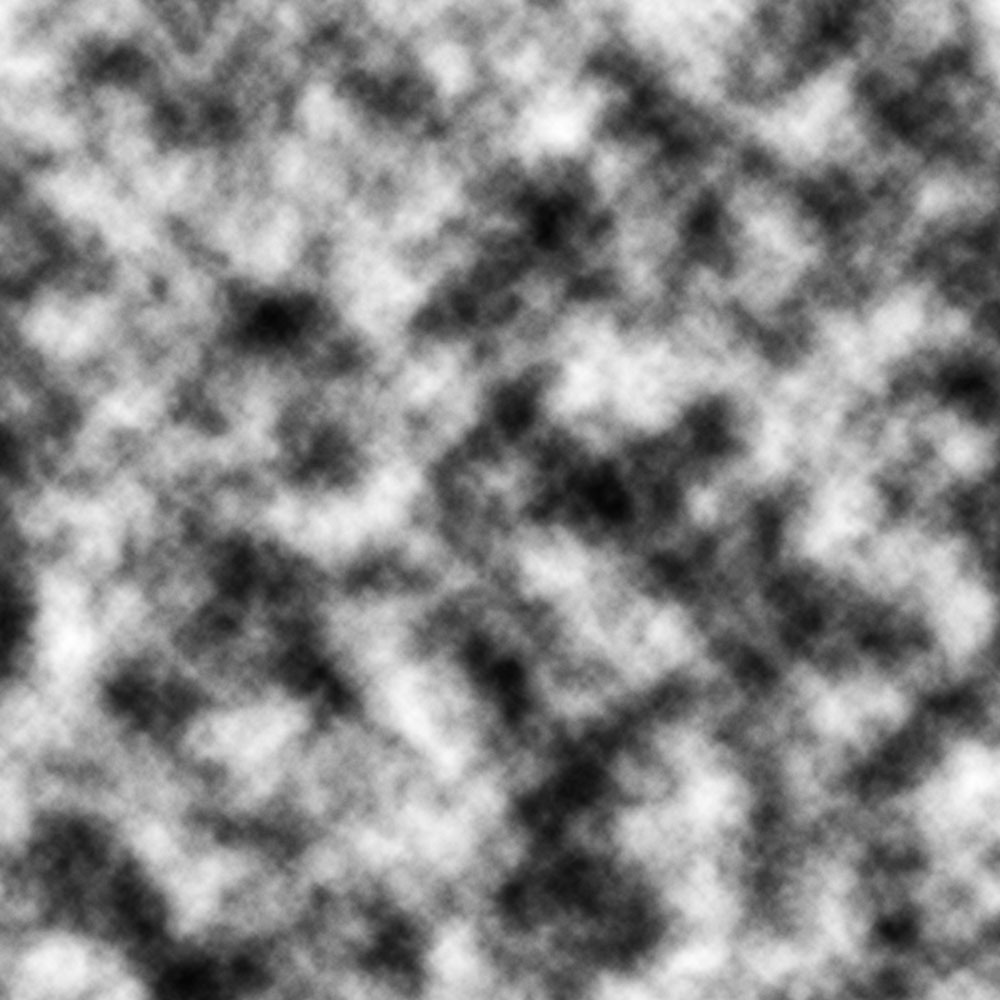
I took the UV map for the Ball into Photoshop and created the black and white mask map you see at right. I decided to get a little fancy and make it a grayscale mask, but it still has the same principle as the black/white masks; the dark areas will show one material shader while the light areas will show another material shader.
Step 9
Create a material node setup similar to the one seen on the right. Again, for the sake of simplicity, I created two simple diffuse nodes in blue and orange. “Closure1” which I have set as blue will show up on the dark areas of the map. “Closure2” which I have set to orange will show up on the light areas of the map. You now have a mixed shader on a single material prop!

Step 10
The limit to what you can do with the MixClosure node and masks is your imagination. Here is another example of the same prop with a more complex shader setup using the same principle. I created a sort of Lapis Lazuli material on the ball using the same map along with a gold shader for the dark areas and a blue ceramic shader for the light areas. You can see it rendered at right. Now that you understand the basics, have fun!

If you found this tutorial helpful:
Learn How to Support This Artist
or
Leave a Comment on This Post
Otherwise, feel free to share the link to this post using the “Share this:” buttons below this post to spread the word. The more viewers, the merrier! You can also find loads of 3D resources like I use at Renderosity. Feel free to visit via my affiliate link below this paragraph. Thank you!

